| Author: | |
| Website: | |
| Page title: | |
| URL: | |
| Published: | |
| Last revised: | |
| Accessed: |
In this exercise you will create a simple guestbook database and HTML pages that allow a user to leave a message or view other users' messages.
mysql -u root
create database guestbook;
use guestbook;
create table message
(
guestName varchar(30),
msg text
);
quit
<html>
<head>
<title>
Guestbook
</title>
</head>
<body>
<h1>Guest Book</h1>
<p>Please enter your name and message:</p>
<form action="guestbook.php" method="post">
<table>
<tr>
<td align="right">Name: </td>
<td><input type="text" size="20" maxlength="30" name="name"></td>
</tr>
<tr>
<td align="right" valign="top">Message: </td>
<td><textarea rows="6" cols="40" name="message"></textarea></td>
</tr>
<tr>
<td colspan="2" align="right"><input type="submit" value="Leave message"></td>
</tr>
</table>
</form>
<p><a href="display_messages.php">Display messages</a>.</p>
</body>
</html>
<html>
<head>
<title>
Guestbook
</title>
</head>
<body>
<h1>Guest Book</h1>
<?php
$name = $_POST['name'];
$message = $_POST['message'];
// connect to MySQL
$conn = @mysql_connect ( "localhost", "root", "")
or die (mysql_error());
// select the database
$rs = @mysql_select_db ( "guestbook", $conn ) or die (mysql_error());
//Create the query
$sql = "INSERT INTO message(guestName, msg) VALUES ('$name','$message')";
// execute the query
$rs = mysql_query( $sql, $conn ) or die (mysql_error());
?>
<p>Message successfully saved.</p>
<p>Click <a href="guestbook.html">here</a> to return to Guestbook.</p>
</body>
</html>
<html>
<head>
<title>
Guestbook
</title>
</head>
<body>
<h1>Guest Book</h1>
<p>Click <a href="guestbook.html">here</a> to return to Guestbook.</p>
<h3>Messages:</h3>
<?php
// connect to MySQL
$conn = @mysql_connect ( "localhost", "root", "")
or die ("Sorry - unable to connect to MySQL database " );
// select the database
$rs = @mysql_select_db ( "guestbook", $conn ) or die ( "error" );
//Create the query
$sql = "SELECT * FROM message";
// execute the query
$rs = mysql_query( $sql,$conn );
// display the results
echo ( "<table border='1'><tr><td><b>Name</b></td><td><b>Message</b></td></tr>" );
while ( $row = mysql_fetch_array( $rs ) )
{
echo ( "<tr><td>".$row["guestName"]."</td><td>".$row["msg"]."</td></tr>" );
}
echo ( "</table>" );
?>
</body>
</html>
Once you have created these files, open the "guestbook.html" page and enter some messages. You should be able to view your messages by clicking on the "Display messages" link on the "guestbook.html" page.
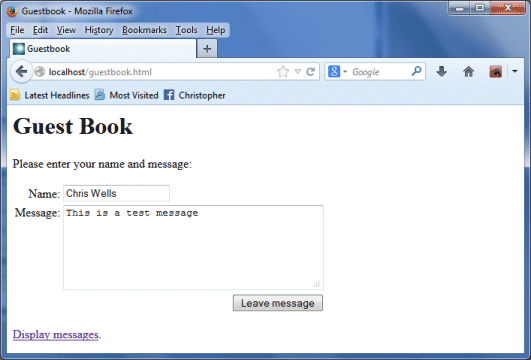
The guestbook data entry form
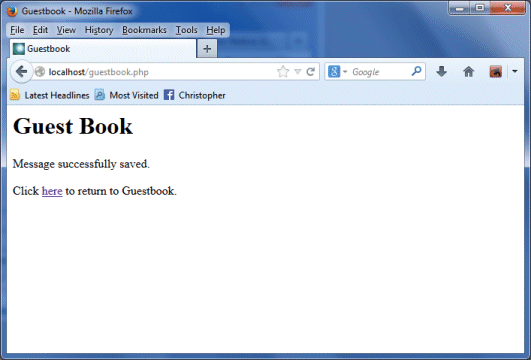
The output from "guestbook.php"
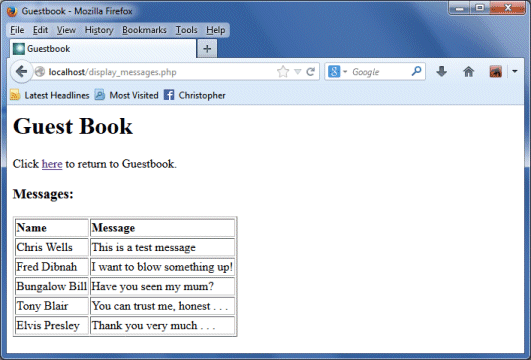
The output from "display_messages.php"