| Author: | |
| Website: | |
| Page title: | |
| URL: | |
| Published: | |
| Last revised: | |
| Accessed: |
We will create the sample programs provided in this section using Visual Studio Community 2022. Before we can write any programs, we need to install and configure the IDE. If you have not already done so, download the installation app and double click on the executable file (Windows will ask you to confirm that you are OK with the app making changes to your device). Once the installation begins, you will see the following dialog box:
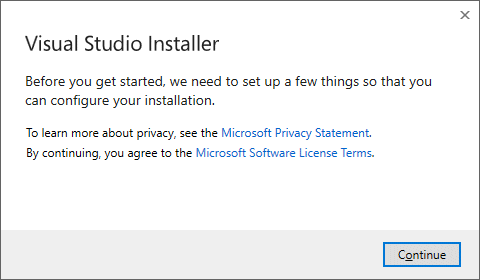
Unless you are one of those rare people who actually reads privacy statements, just click on the Continue button. You should now see another dialog box with a progress bar and a message telling you that something is happening . . .
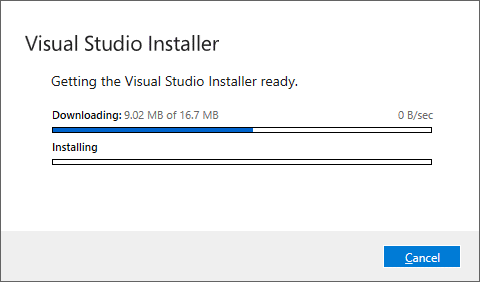
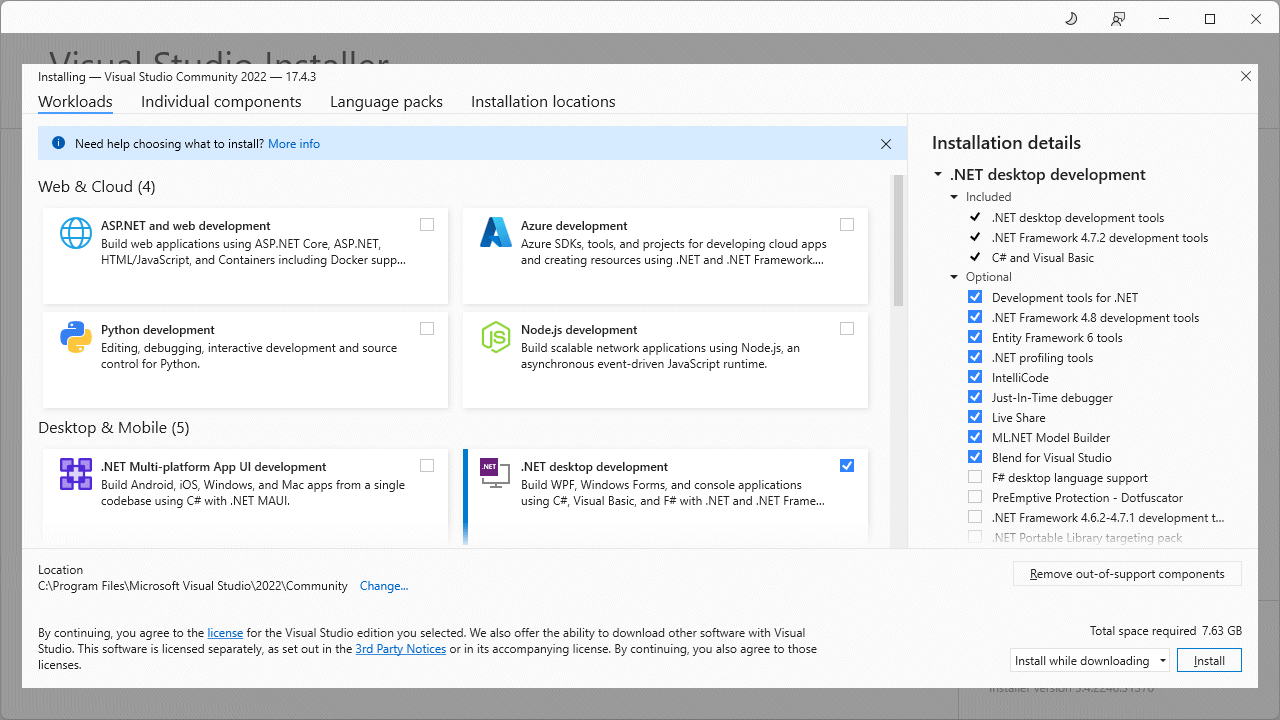
You don't need to do anything further until you see the screen below (this could take a minute or two). This screen allows you to choose a "Workload". For our purposes we only need the .Net Desktop Development workload, so make sure the checkbox for this workload is selected as shown, then click on the Install button.
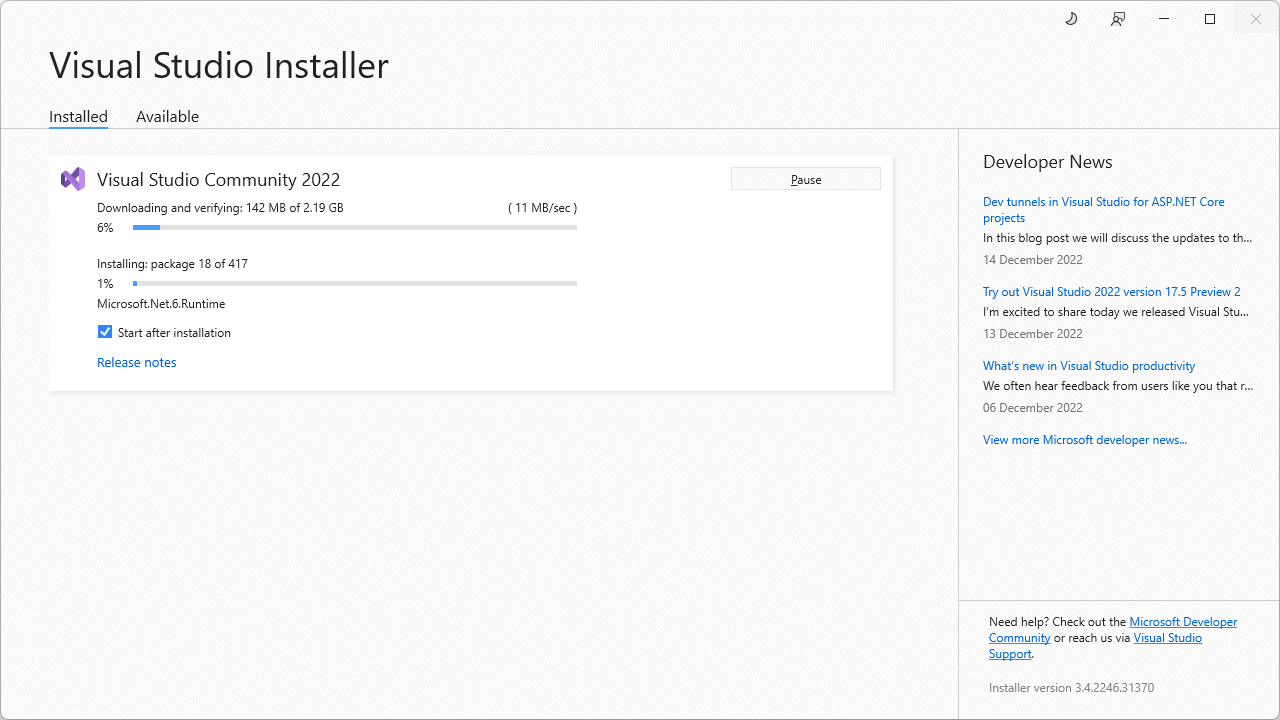
The installation app will now download and install the required components This could take a while, so now might be a good time for a coffee break!
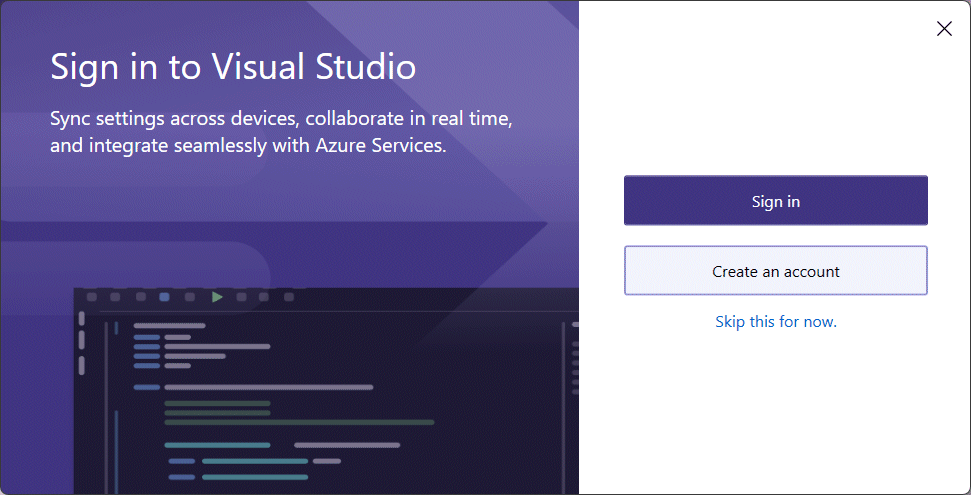
Once the installation is complete, and assuming you have chosen the suggested installation options, you should now see see a microsoft splash screen, followed by a screen that asks you to sign into your Microsoft account (or create a new Microsoft account). If you don't wish to do either of these things, you can simply skip this step by clicking on "Skip this for now.".
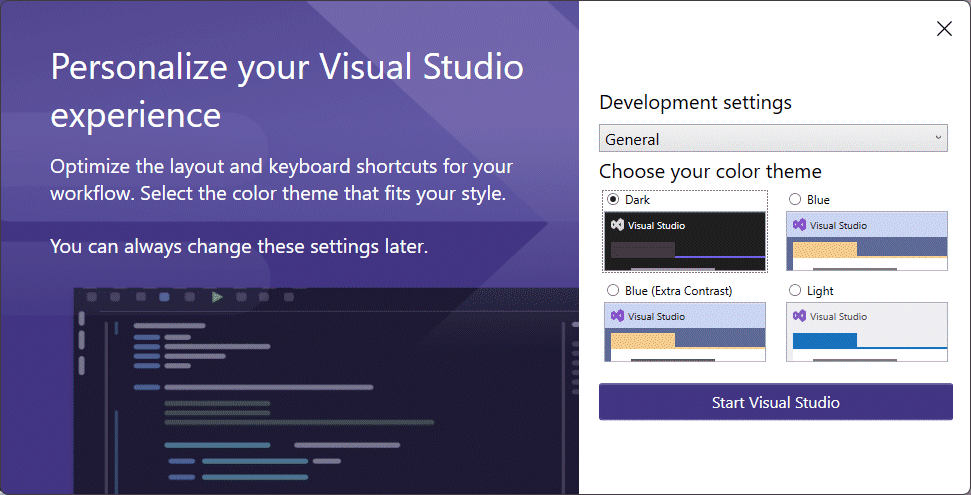
You should now see a screen inviting you to customise your development settings. We suggest you leave the settings as they are for the time being and , and launch Visual Studio (you can always change the development settings later if required).
In the next article, "Getting Started with Visual Basic", we will take you through the process of creating and configuring a new Visual Studio project and building a simple "Hello World" application.